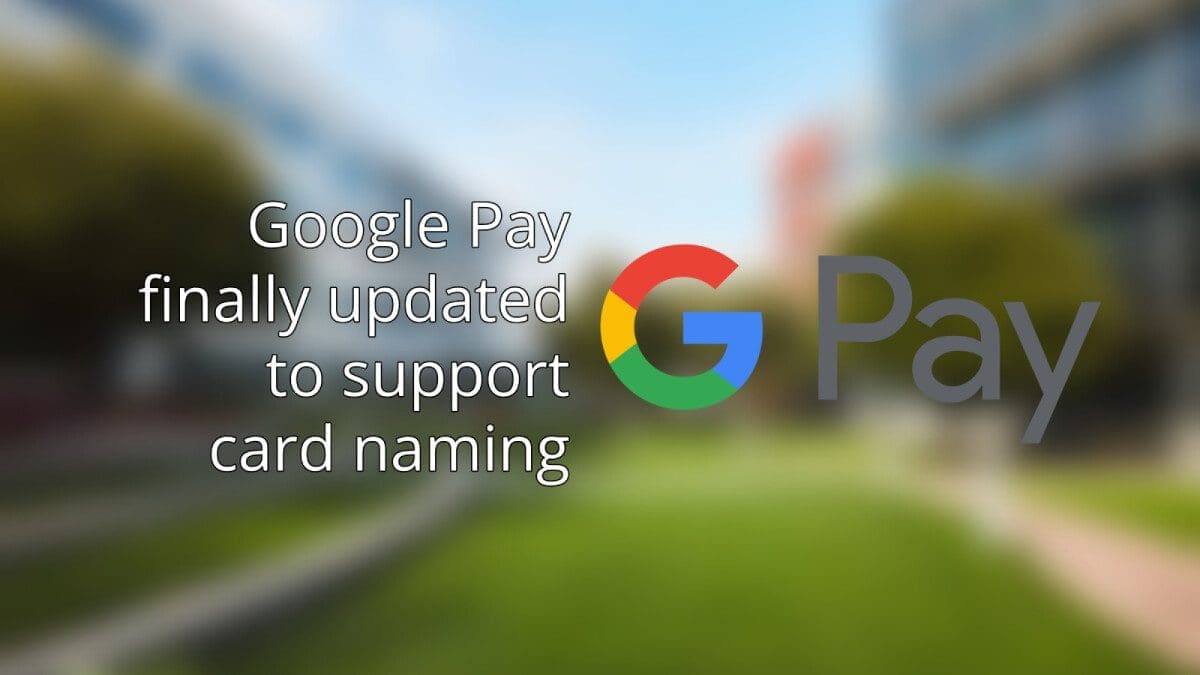
Phones Canada brings you exciting news about the latest update to Google Pay. This update introduces the ability to name your cards when using autofill, providing users with a more convenient and personalized experience.
Autofill is a highly convenient feature, and it’s about time that it allows users to label their presets. Having this ability will allow for greater organization and ease of use, especially in a time where virtual cards are becoming increasingly popular.
So, how does it work? If you’re using the Google Pay app on your phone, it may automatically assign a generic name to your cards. However, you have the freedom to change these names as you see fit. Simply visit the Payment Methods section and make the changes that suit your preferences.
On the PC version of Google Pay through Chrome, things are a bit more complicated. Here’s a quick guide to help you out:
1. Go to the Google Pay homepage.
2. Click on the blue “Set up payment methods” button located at the top right corner.
3. Select “Manage Payment Methods” from the list.
4. Choose the payment method you want to edit.
5. In the “Card Nickname” section at the bottom, enter your desired name.
6. You’re all set!
Keep in mind that this update is still being rolled out, so there may be some uncertainties. It’s unclear whether Chrome will also adopt generic naming conventions or if it may overwrite any nicknames set. If you come across any issues or have any feedback, please let us know in the comments.
We hope this update makes your Google Pay experience even better! Stay tuned for more exciting news and updates from Phones Canada.