Taking a Screenshot on Your iPhone: A Step-by-Step Guide
Capturing what’s on your iPhone screen is a quick and easy way to save important information or share funny memes with friends. Whether you have an iPhone with Face ID or Touch ID, we’ll walk you through the different methods for taking screenshots and show you where to find them on your device.
Taking a Full-Page Screenshot in iOS 17
iOS 17 brings exciting new features, including the ability to screenshot an entire article from the internet in just a few clicks. Here’s how to do it:
1. Launch Safari and open the page you want to save.
2. Press the Home button and Sleep/Wake button at the same time. (If you don’t have a Home button, press the power button and volume up button simultaneously.)
3. A preview of the screenshotted article will appear in the lower left corner of your display.
4. Tap on the image, then tap “Full Page” in the upper right corner.
5. You can save the article as a single image by pressing “Done.”
Taking Screenshots on iPhones with Face ID
If your iPhone has Face ID, you can use this screenshot method. This includes iPhone 15, iPhone 14, iPhone 13, iPhone 12, iPhone 11, iPhone X, iPhone XR, iPhone XS, and more. Here’s how to do it:
1. Press the side button and volume up button simultaneously.
2. Release both buttons, and a small preview of the screenshot will appear in the bottom left corner of your screen.
3. Swipe the preview to the left to dismiss it or tap to edit.
4. The editing feature allows you to markup the screenshot, crop it, or share it directly via Messages or other social apps.
Taking Screenshots on Touch ID iPhones with a Side Button
If you’re using an iPhone with Touch ID, follow these steps to capture a screen:
1. Press the Home button and side button at the same time.
2. Release both buttons, and a thumbnail of the screenshot will pop up in the bottom left corner.
3. Tap the image to open and edit it or swipe away to dismiss.
The Back Tap Method
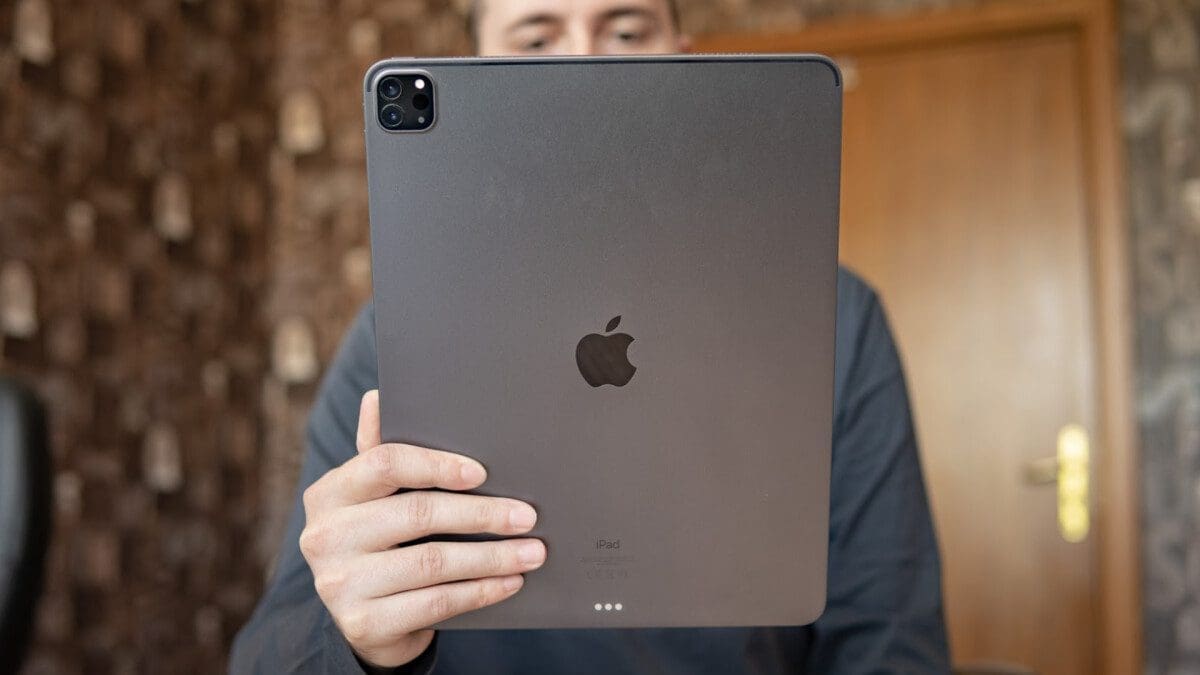
For iPhone 8 and newer models, there is an alternative method to take screenshots without pressing buttons. Simply tap the back of your iPhone on the Apple logo. Here’s how to set it up:
1. Open the Settings app.
2. Scroll down and select Accessibility.
3. Choose Touch.
4. Select Back Tap at the bottom of the list.
5. Set either Double Tap or Triple Tap to Screenshot.
Finding Your iPhone Screenshots
All screenshots on your iPhone are automatically saved in the Photos app. To see only your screenshots, go to Albums > Media Types > Screenshots. If you use a different photo app, like Google Photos, your screenshots will also appear there.
Now that you know how to take screenshots on your iPhone, you can capture important information and share funny moments with ease. If you’re looking for the best iPhone deals in Canada, be sure to check out our list of the latest promotions and cell phone plans.


